
|
The Mitsubishi Pajero Owners Club®
The Mitsubishi Pajero, Shogun, Montero, Challenger, Raider and EVO 4x4 Owner's Club
|
| View previous topic :: View next topic |
| Author |
Message |
richardsth
******


Age: 61
Zodiac: 
Joined: 01 Feb 2006
Posts: 1397
Location: Essex
|
 Posted: Mon May 28, 2012 18:59 Post subject: Gen3 2002 Shogun Rear Axle Breather Modification Posted: Mon May 28, 2012 18:59 Post subject: Gen3 2002 Shogun Rear Axle Breather Modification |
 |
|
Hi all,
I'm posting this on behalf of TTR, it's an excellent write-up of how to fit front & rear diff breather tubes neatly. If you have any queries, direct them to TTR.
cheers all.
Rik.
Time to allow : 4 hrs excluding fabrication of bracket
Tools:-
13 ring spanner
17 ring spanner
10 ring spanner
10mm steel drill bit
14mm steel drill bit
Metal file
Emery paper / wire wool
Silicone spay
General purpose silicone sealant
1 M12 nylock
1 x washer
1 x rubber washer (optional)
2 x 30mm OD rubber o ring seals
1 metre 15mm electrical spiral wrap
Wire cutters / Stanley knife
Spray paint (optional)
Rubber gloves
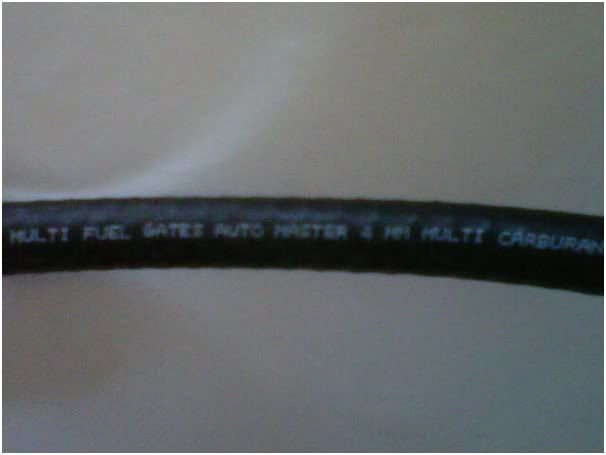
7 metres of Gates 4mm Internal Diameter Carb Pipe
4 x 7mm stainless tube clips
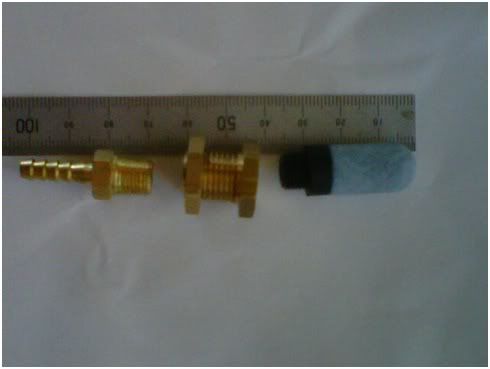
2 x air line bulkhead fittings
2 x air line breathers
2 x air line hose connectors
1.5mm steel plate 100mm X 60mm
PTFE tape
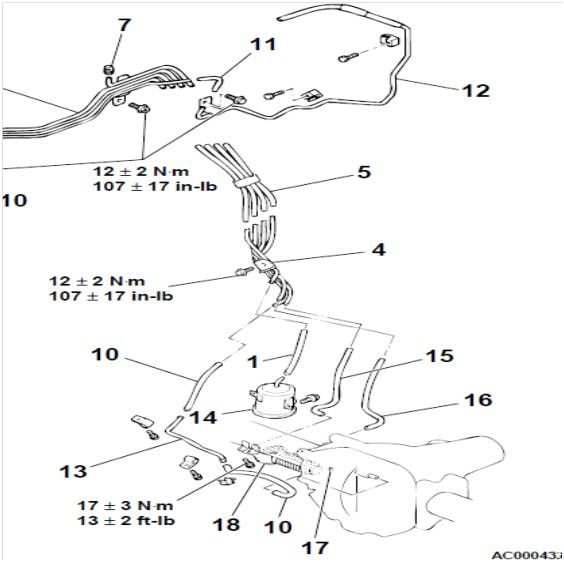
Rear Axle Breather
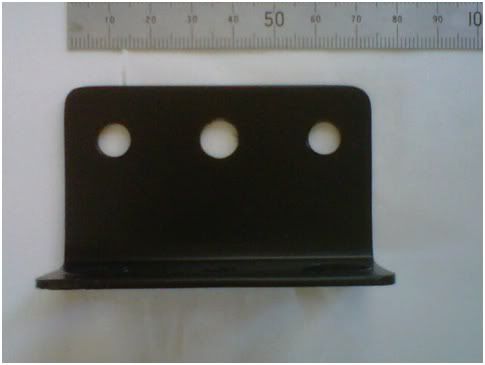
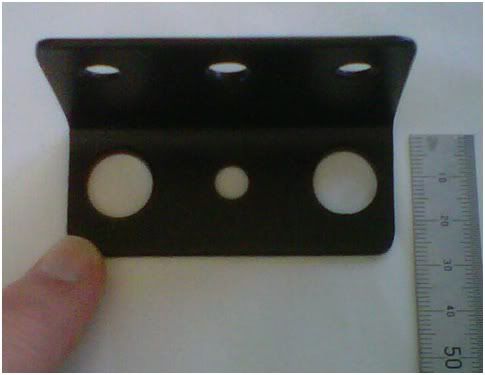
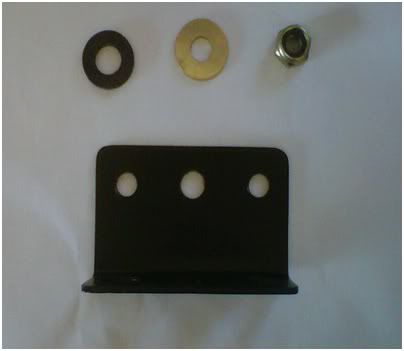
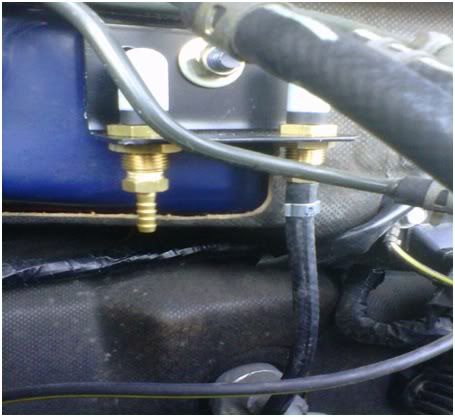
1. Using your steel plate fabricate a suitable L shaped bracket for mounting the bulkhead connectors.
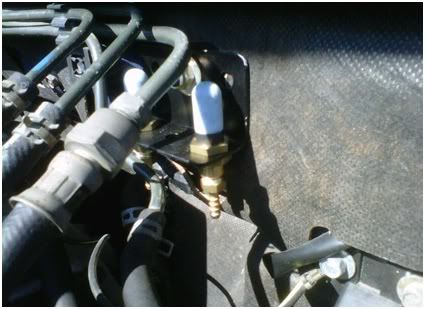
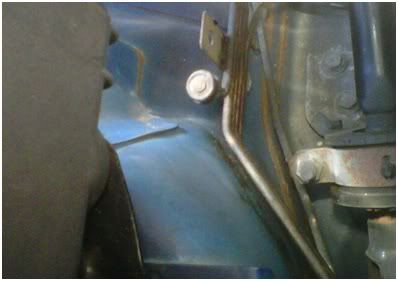
2. Establish a mounting point on your vehicle, I used one of the soundproofing studs at the top left of the engine bay (as stood facing the engine face on)
3. Check that you have enough clearance for running pipes to your mounting point.
4. Drill a suitable size clearance hole in the centre of your bracket (10mm)
5. Carefully mark out two holes a suitable distance from the bend of your bracket to allow for the mounting of your bulkhead connectors, drill two 14mm holes.
6. File off any sharp edges and round of corners, clean with solvent and prime and paint.
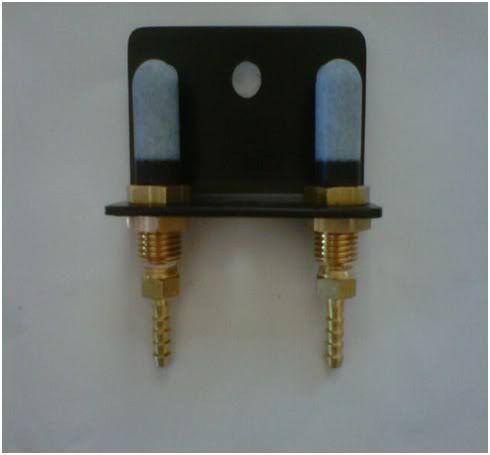
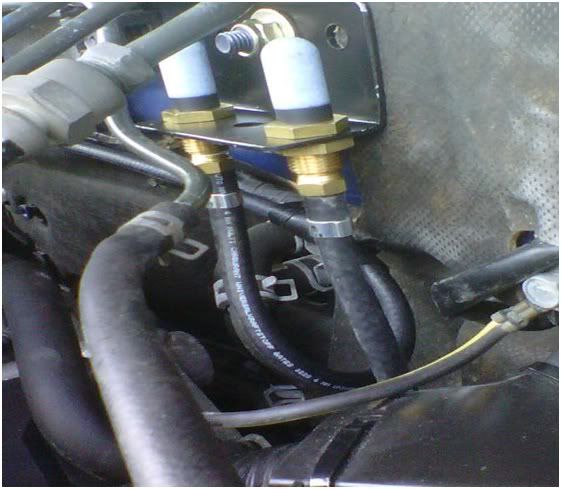
7. Once dry assemble your bulkhead fittings and filters, on the connectors use PTFE tape around the threads and tighten with 17mm and 10mm spanners.
8. Mount your bracket to the mounting point, I used a rubber washer on the reverse to lessen any vibrations and secured with a washer and M10 nylock.
9. Working from the rear of the car, locate the rear axle top breather hose, clean the fitting point to free from debris, disconnect the rubber hose from the plastic fitting. You may need to run a sharp blade carefully down the tube where it joins onto the plastic fitting or ease it back with a small flat screwdriver.
10 .Follow the breather hose back and remove from the plastic fitting that runs into the chassis floor.
11. Keep your original breather in a safe place in case you want to reuse.
12. Using your chosen pipe cut off a 50mm section, use sharp wire cutters or Stanley knife but ensures you get a straight cut. I used Gates 4mm carb pipe as I wanted something with integrity and was robust; you could use other silicone or PVC pipe if you choose.
13. Seal one end with a good measure of silicone sealant and allow to dry.
14. Take your pipe and spray the open end with a little silicone spray and mount over the plastic fitting that is located in the chassis floor, effectively sealing the fitting and making things water and air tight.
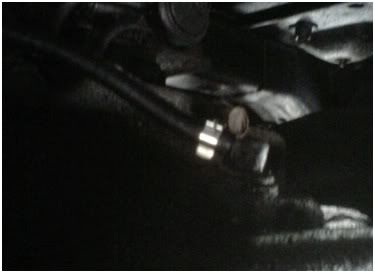
15. Using a new section of pipe spray the open end with a little silicone spray, place one 7mm stainless pipe clip over the tube and mount over the plastic fitting that is located in the rear axle itself.
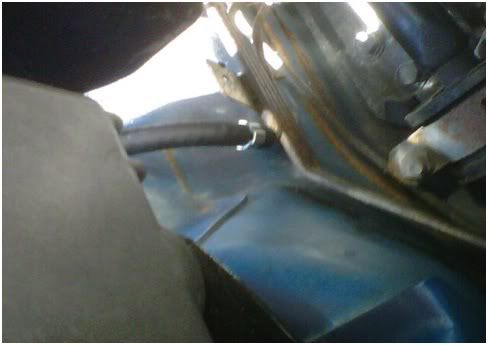
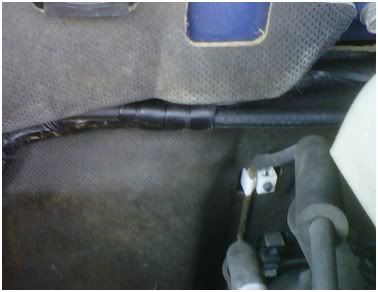
16. The next part is open to individual preference; I chose to run my cable following the route of the handbrake cable / brake cable / front chassis heat shield and up into the engine bay on the right hand side as stood facing the vehicle.
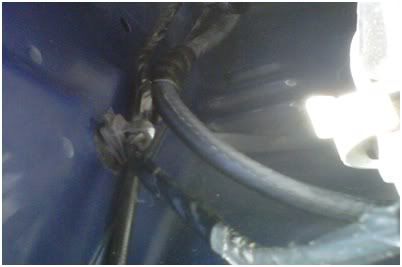
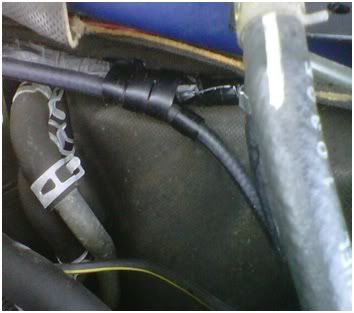
17. I mounted the breather tube using spiral wrap attaching to existing cables or pipework. I chose this method over cable ties as I felt there was less risk of failure, better and more even grip and point loading was reduced.
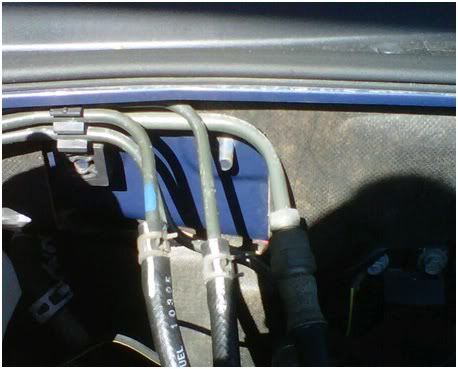
18. From the engine bay I then mounted the cable using the 2 x 30mm o ring seals by creating a figure of 8 and looping this around suitable fixing points on the bulkhead.

19. Run the cable upto the bulkhead bracket, spray the open end with a little silicone spray, place one 7mm stainless pipe clip over the tube and mount over the bulkhead connector and secure with the clip.
Front Axle Breather
20. Working underneath the car remove the rear most splash guard and place safely to one side along with bolts.
21. Trace the front axle breather pipe, ensure that this is the correct pipe and confirm routing following this carefully across the axle and up into the engine bay.
22. Remove the rubber breather cap from the pipe keep your original in a safe place in case you want to reuse.
Using a new section of pipe spray the open end with a little silicone spray, place one 7mm stainless pipe clip over the tube and mount over the breather pipe and secure.
24. The next part is open to individual preference; I chose to run my cable following the route of the electrical cabling running across the top of the engine bulkhead.
25. I mounted the breather tube using spiral wrap attaching to the existing cables
26. Run the cable upto the bulkhead bracket, spray the open end with a little silicone spray, place one 7mm stainless pipe clip over the tube and mount over the bulkhead connector and secure with the clip.
27. Stand back and admire!
This is the way I chose to do this modification I am not a mechanic and it is purely the way I completed the task.
I hope this is of some use to someone in the future. |
|
| Back to top |
|
 |
Google
Sponsor

|
| Posted: Mon May 28, 2012 18:59 Post subject: Google Ads keep the POCUK free to join! |
|
|
|
|
| Back to top |
|
|
|
|
|
You cannot post new topics in this forum
You cannot reply to topics in this forum
You cannot edit your posts in this forum
You cannot delete your posts in this forum
You cannot vote in polls in this forum
You cannot attach files in this forum
You cannot download files in this forum
|
|

