| View previous topic :: View next topic |
| Author |
Message |
iam_TJ
LifeTime Member

Joined: 10 Apr 2013
Posts: 351
Location: Europe
|
 Posted: Wed Mar 03, 2021 20:14 Post subject: FAQ: Mark 3 LWB GDi Auto Instrument Bulbs Type and Quantity Posted: Wed Mar 03, 2021 20:14 Post subject: FAQ: Mark 3 LWB GDi Auto Instrument Bulbs Type and Quantity |
 |
|
In the process of figuring out what is needed to replace the incandescent bulbs with LEDs in the instrument /dashboard binnacle I created an easy to understand image with the information superimposed and exported as a PDF which hopefully others will find useful and save much time disassembling and figuring these things out.
PDF: Shogun-Mark3-Petrol-GDi-5auto-LWB-_Binnacle-Lights
 |
|
| Back to top |
|
 |
Google
Sponsor

|
| Posted: Wed Mar 03, 2021 20:14 Post subject: Google Ads keep the POCUK free to join! |
|
|
|
|
| Back to top |
|
|
Grabber
*


Age: 46
Zodiac: 
Joined: 07 Jan 2021
Posts: 35
Location: Netherlands
|
| Posted: Wed Mar 03, 2021 21:08 Post subject: |
|
|
That's great! Thanks a lot.
(btw... isn't "B" needed 5 times ?)
Is it hard to get this piece out of the dash? |
|
| Back to top |
|
|
iam_TJ
LifeTime Member
Joined: 10 Apr 2013
Posts: 351
Location: Europe
|
| Posted: Wed Mar 03, 2021 21:36 Post subject: |
|
|
| Grabber wrote: |
That's great! Thanks a lot.
(btw... isn't "B" needed 5 times ?)
Is it hard to get this piece out of the dash? |
5 x B Red T4.7 for the door state.
Easy to get out - 6 screws and a good tug.
Lower the steering wheel.
2 screws under the top lip of the lens cowl (left and right) then pull the bottom edge outwards and up and over the edge of the dash.
4 screws, 2 top, 2 bottom, holding the binnacle in place. Use a magnetised screwdriver to avoid losing them down the back (wipe the screwdriver across a magnet in lines a few times).
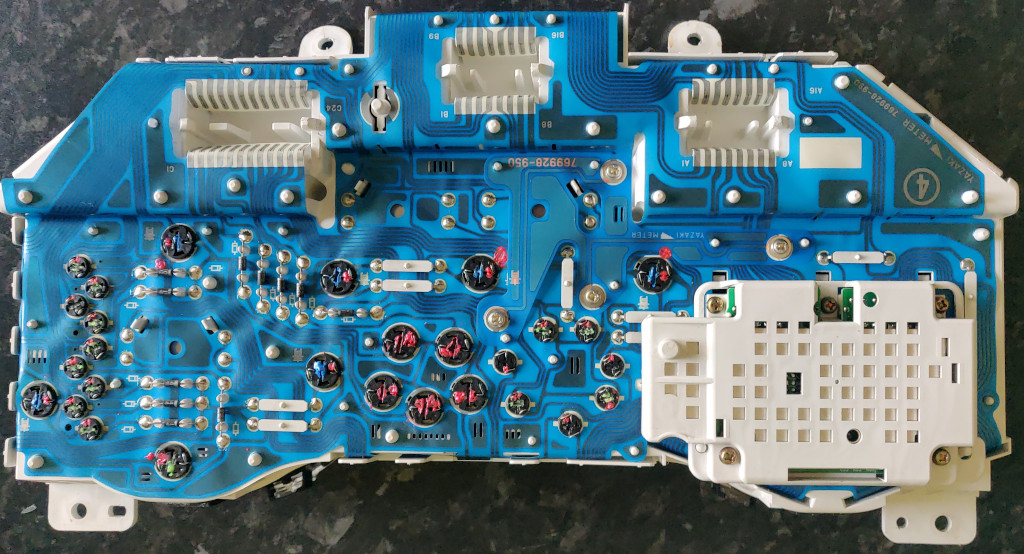
Binnacle now needs firmly tugging forward. There are 3 connector 'bulges' on the back that locate into recessed connectors lined with flat flexible cable (FFC) fixed to the bulkhead.
Connectors are retained in holes in the metal bulkhead behind but their clips will sometimes let go and the connector will come out with the binnacle, in which case you have to get a hand behind and wiggle it free from the binnacle and clip it back in place. Wires on those connectors are short so there isn't a lot of working room when that happens.
Move the binnacle forward then rotate its bottom edge forward up and over to extract it above the dashboard.
On the back you'll find all but the indicator and main beam bulbs. Those have to be accessed via the front by carefully unclipping the clear lens then the black inner cowl, and finally unclipping the top row lights and turning up and over to expose those 3.
Here's a lot of photographs captured whilst exploring including the 'hidden' bulbs in InnerBulbs/ |
|
| Back to top |
|
|
iam_TJ
LifeTime Member
Joined: 10 Apr 2013
Posts: 351
Location: Europe
|
|
| Back to top |
|
|
iam_TJ
LifeTime Member
Joined: 10 Apr 2013
Posts: 351
Location: Europe
|
| Posted: Sun Mar 07, 2021 15:38 Post subject: |
|
|
I've updated the document to include LED polarity. When I received the LEDs I first laid them out on the bench and used the Diode test setting of a multi-meter to determine the positive side (with a 9V battery it causes the LED to illuminate). I then applied small red spots of "dimensional fabric paint" on the appropriate side. I also applied a line of colour in the slot representing the LED colour. Didn't have any yellow so those 3 have no colour indication.
This saves a lot of trial-and-error when installing the LEDs!
 |
|
| Back to top |
|
|
|


